About me
Double-tap to edit.
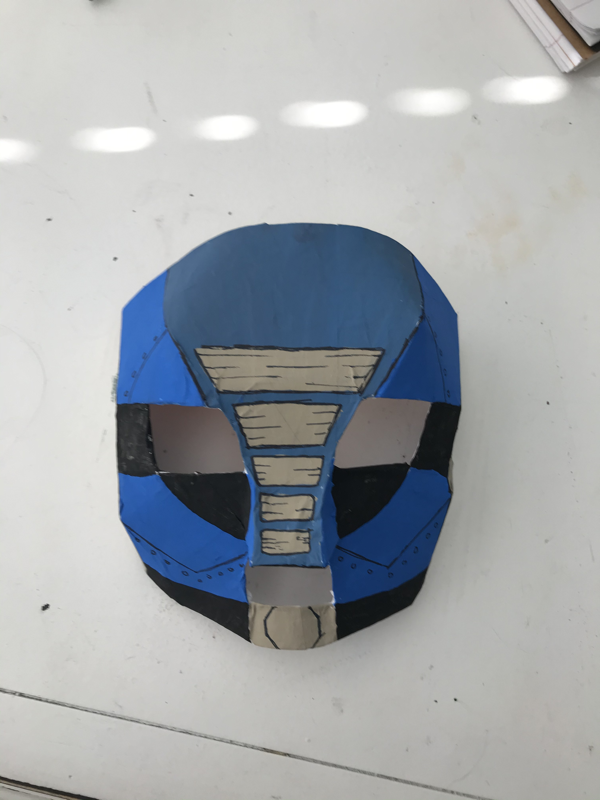
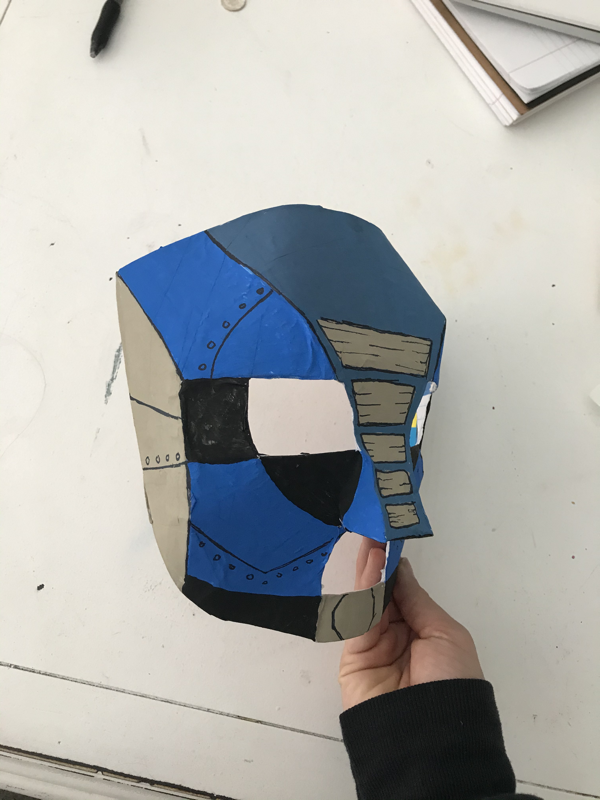
Wearable Art
My piece is a mask inspired by one of my favorite characters from one of my favorite video games. I used cardboard, tape and the technique of papier-mâché to make a costume fitted mask to my face creating a cyborg inspired look. I would say it’s design creates an imaginative yet powerful feeling.
With the final touches of paint and customization to the appearance versus the structure I’d say my piece turned out cohesive and balanced since I tried my best to make the mask as asymmetrical as I could. Overall I think my piece was a success and very fun to mess around in.
With the final touches of paint and customization to the appearance versus the structure I’d say my piece turned out cohesive and balanced since I tried my best to make the mask as asymmetrical as I could. Overall I think my piece was a success and very fun to mess around in.
Stages and Forms
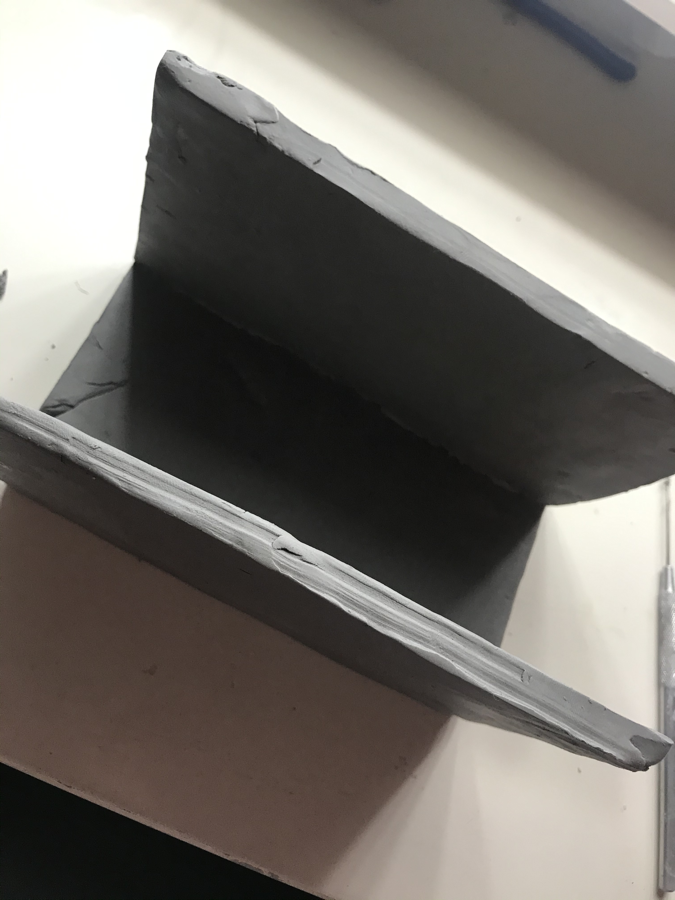
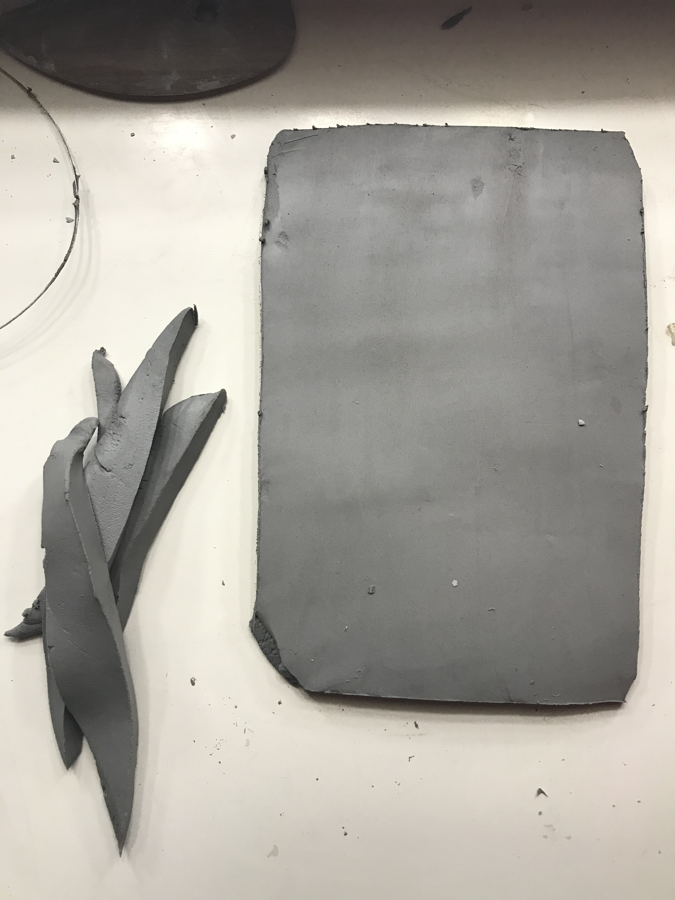
In the assignment below we were practicing creating different forms of cymatics. We had to create a pinch pot, a coil and a slab. We were then told to photograph the different forms of the drying process for one of them. I chose the slab, I watched it go from “green” clay, to leather hard and then to its most solid state. Then we were assigned to moisten the dried clay into slip. Slip is a complete liquid substance with a little bit of clay in it artists use to help connect pieces or clay to other pieces in the green creating phase. This was a good practice assignment that got me comfortable with working with clay and all the clay tools.
Pinch Pot Designs
For the assignment above we had to use the form of a pinch pot to design an either decorative or function piece. I chose a both functional and decorative design. I love Panda bears so i made a Panda bear that also had the option to store items on the inside. As you can see in the picture, the bear opens up to storage on the inside and when it is "closed" or put back together it builds the body of a Panda bear. I still have to fire and glaze my piece. Once i have it glazed, the black and white color i plan to use will further portray the look of a Panda bear.
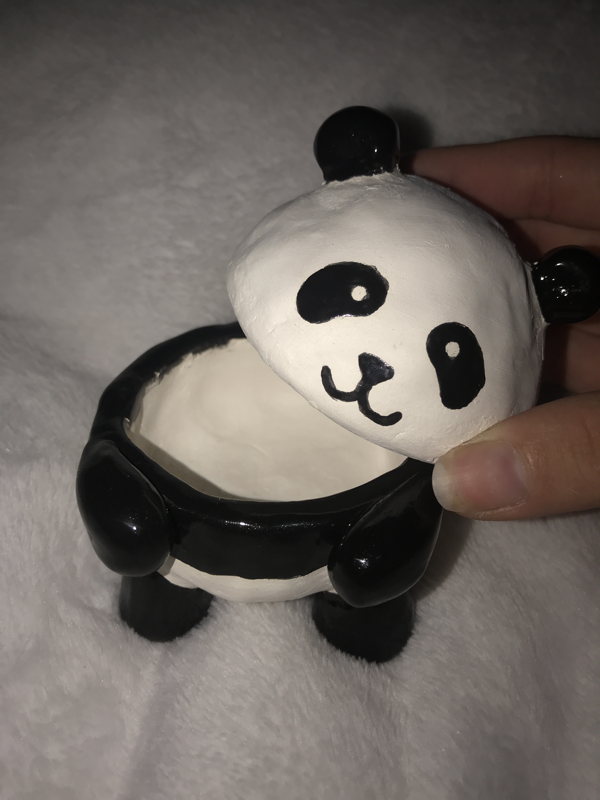
Above is the final result after firing, glazing and firing again. I love it and think it turned out so cute!
Clay Stamps

Here I made stamps for clay out of clay. I was instructed to use the four different forms of a cube, sphere, cylinder and a generic “stamp” shape and print patterns on them to later use on wet clay.
Below are pictures of the stamps fully dried and used on wet clay
Animal Head
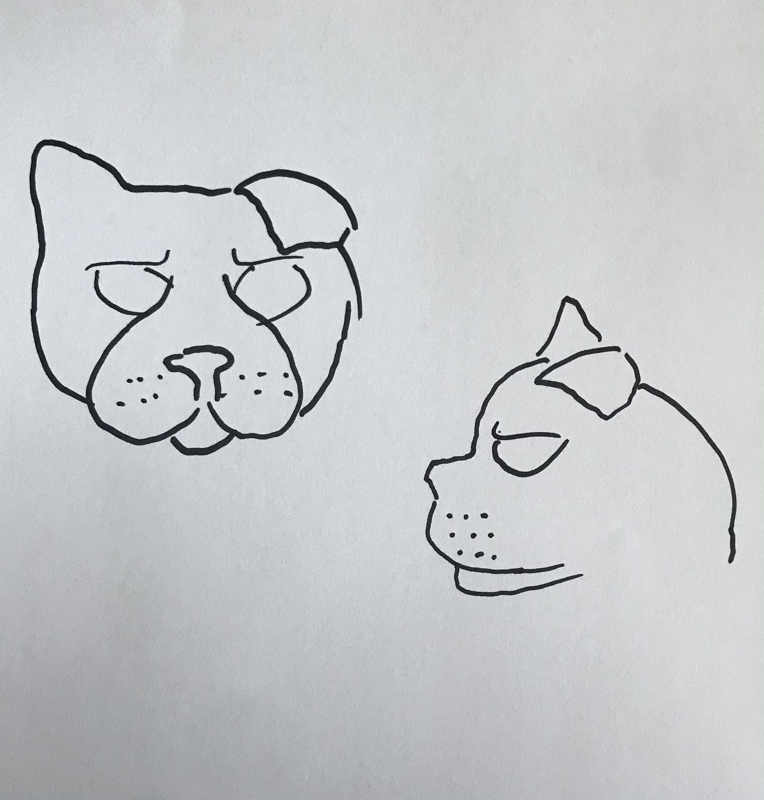
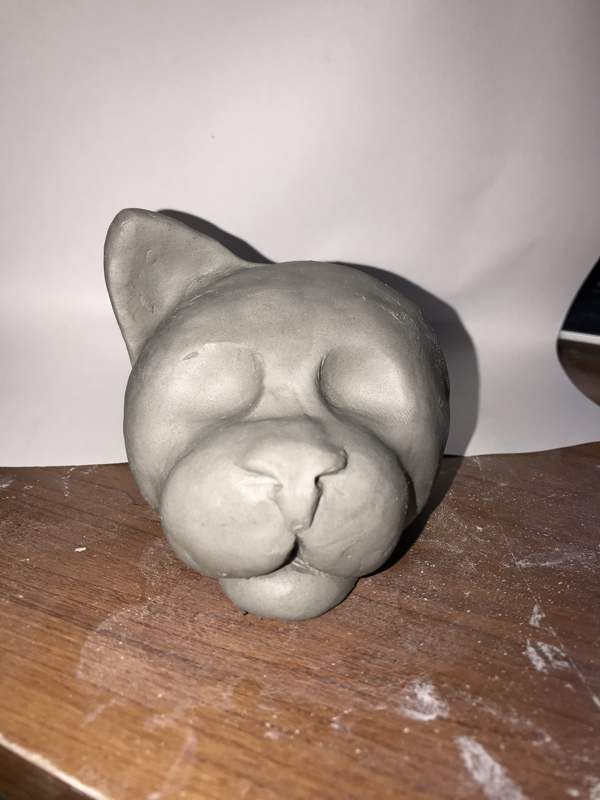
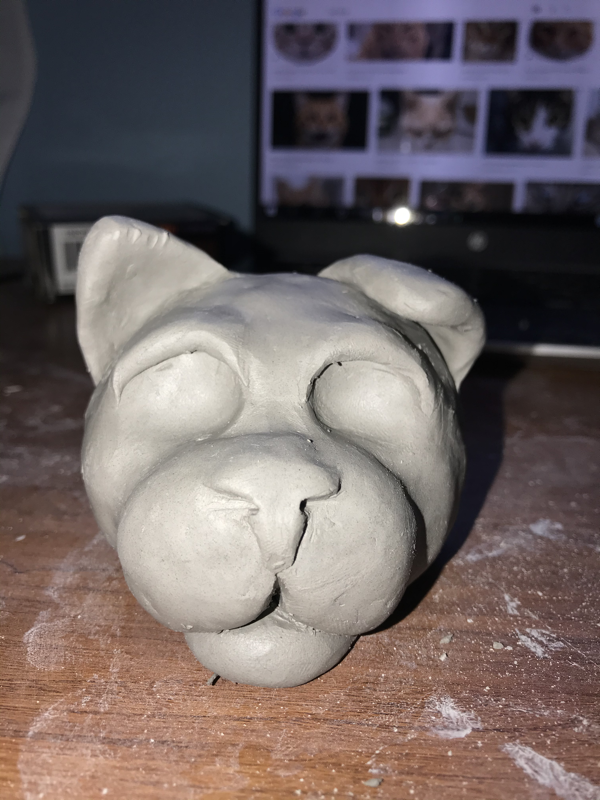
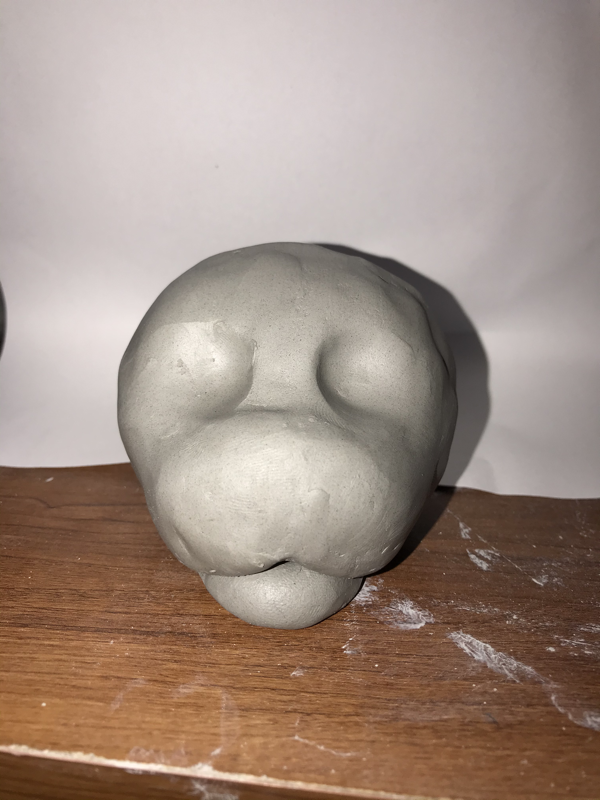
For this assignment we were to design and create a 3 dimensional animal head. I chose to do a cat because even though I’m not a big fan of domestic cats, my sister is obsessed and I will most likely gift this to her. I first started off with a handful of clay I rolled into a sphere, after that I started to manipulate the basic head shape of a cat by creating a pinch pot out of said sphere leaving a whole in the back where the neck will eventually connect. By sticking my fingers in this hole I was able to shape the cheeks and eye sockets by pushing the clay out and in. Then I added more intricate shapes such as the bottom jaw, eyebrow bones and ears. And finally I gave it some eyes along with eye lids and built up clay in the back to create the neck.
When I was done with the shape of my cat head it was time to add some detail and texture. I took my pick tool and individually scratched hairs all over. I left some parts less scratched or went back when I was done to smooth some out where I plan to add lighter colors to the cats fur. Overall I am very happy with how my cat turned out, at some point I had dropped him right on his cheeks just before I was done but I think I preserved his structure quite nicely. I’d say this piece was a success and my sister will be very excited when I give it to her.
Sgraffito
Sgraffito is the technique of carving your design out onto your piece. I made a simple round plate out of a slab with the help of a real plate for shaping. After it dried I painted a few layers of under glaze onto the un-fired plate and started sketching my design. My zodiac sign is Pisces, these fish are my zodiacs animal sign. Once I had my sketch all complete, I lightly drew its basic shapes onto the dried plate. I then used a sharp tool to carve away the underglaze to reveal the white clay. I tried to balance black and white between the two fish by making one primarily white with black detail and the other black with white detail. I was worried about pulling this off because you can’t “erase” your carvings, but I am very pleased with this piece. I think it was a huge success considering I’ve never done something like this before and I love the look and contrast of it, definitely going on display in my kitchen.
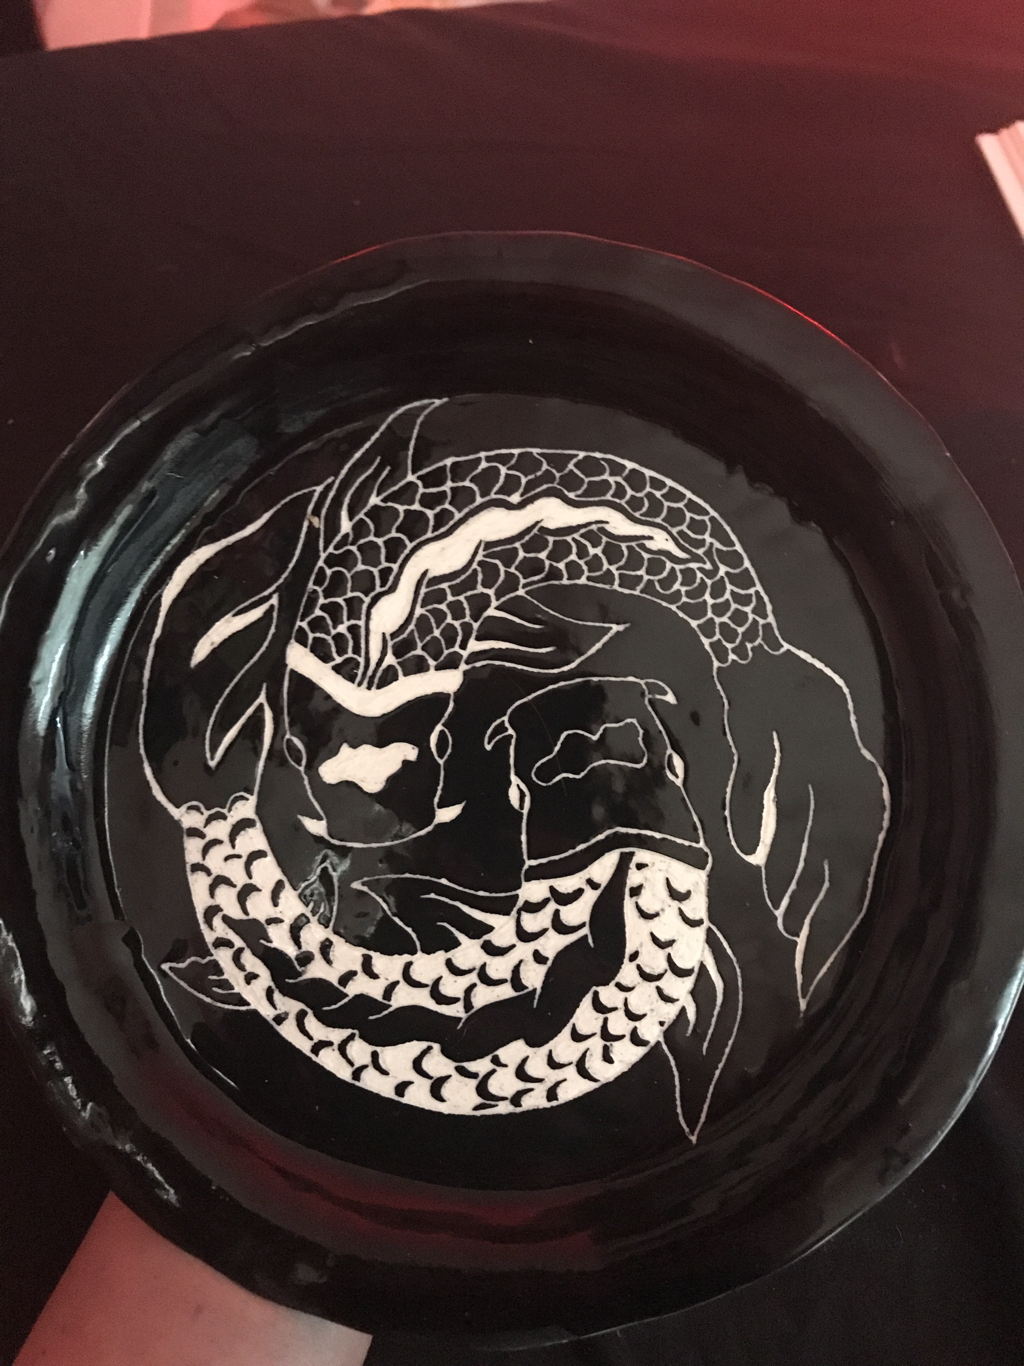
Above is the final product after firing and glazing.
Inspired Art Sculpture
My piece is a tripod mug, it’s essentially a cup sitting on 3 legs all connected underneath to where if you were to flip the mug upside down, the legs would form a 3-pointed star shape. You can also add a handle but I did not. On the lower half of the outside of my mug there is a gridded pattern and on the upper half there are 4 what I would call doughnut shaped pieces attached and spaced equidistance from each other. To make this piece I started with a sphere of clay that I flattened as much as I could be I started to through the clay to form a slab. This process is basically flapping the slab down over and over while rotating sides; this process flattens and expands the slab the more you do so. Then I went ahead and used a tool to roll on the grid pattern. After I let the slab dry for some time I was able to form the cylinder “cup” shape. To form the tripod legs I basically made a triangle between my two hands and smushed the edges of the cylinder together until they were all connected. This left an open hole on one side of my cylinder, which would be the top of the mug, and the tripod legs on the other end, which would be the bottom. After that I filled in the bottom of the inside of the mug to create a smooth, rounded bottom then began to add my “doughnut” shapes. I created the shapes then scored where it was needed and then attached them, that’s when I was finished. I drew inspiration from my NCMA’s shapes it had in its piece, specifically the circular shapes it had in it. I also like it’s more rustic and worn down look, I didn’t care too much to make my piece perfectly smoothed or proportioned. I’d say my piece was a success in the sense of being inspired by the NCMA piece. Although my piece is very simple I feel like if you were to put the two side by side you could see where I drew my inspiration from.
Pit Fire Pot
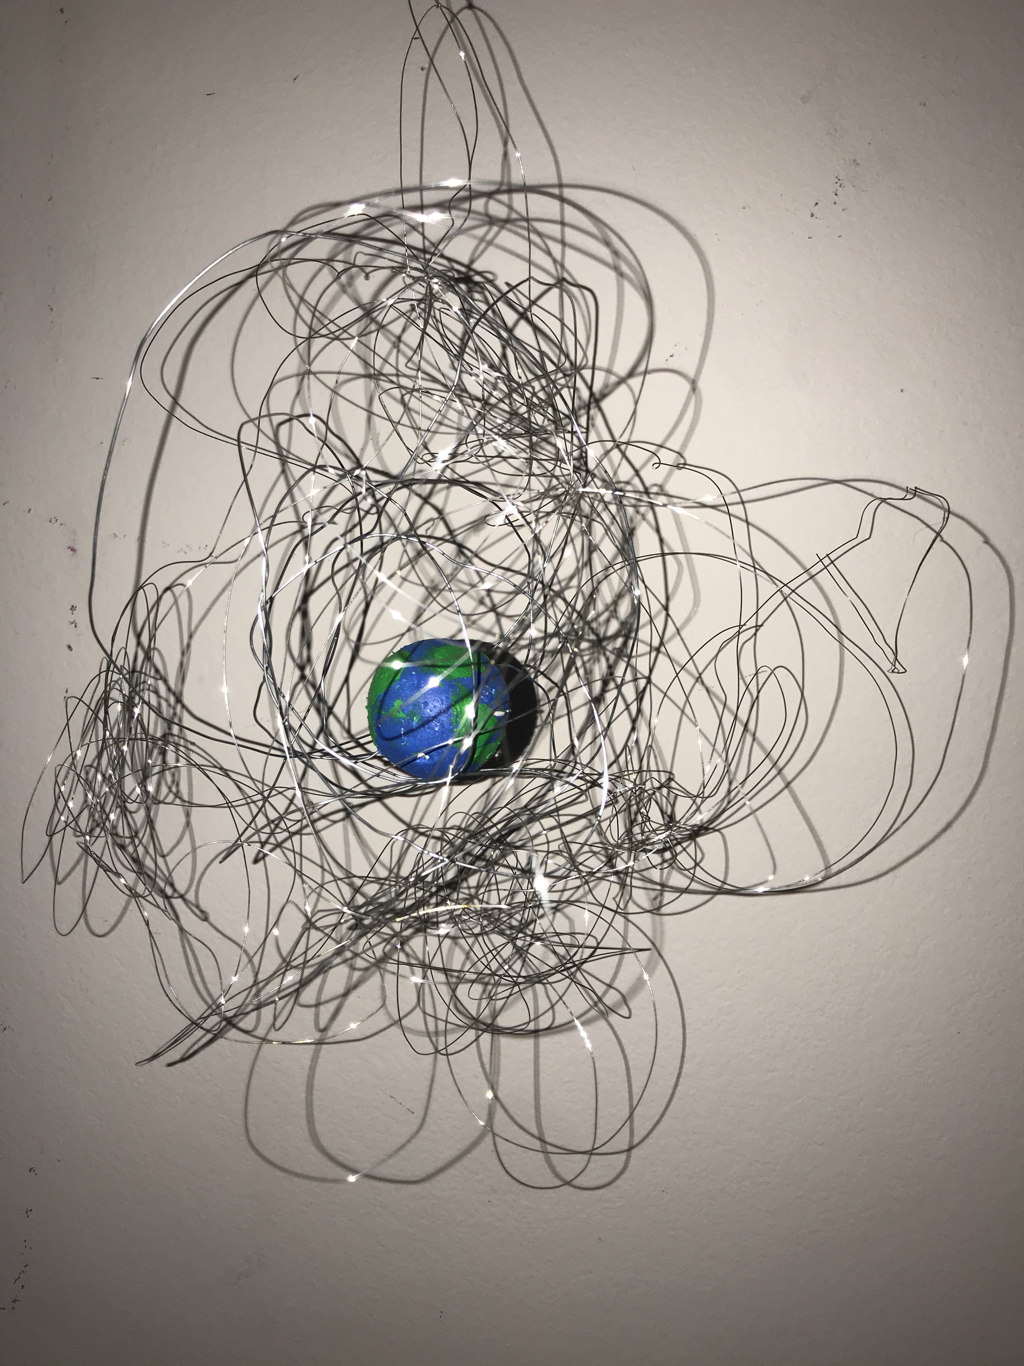
Land Art
Installation Art